









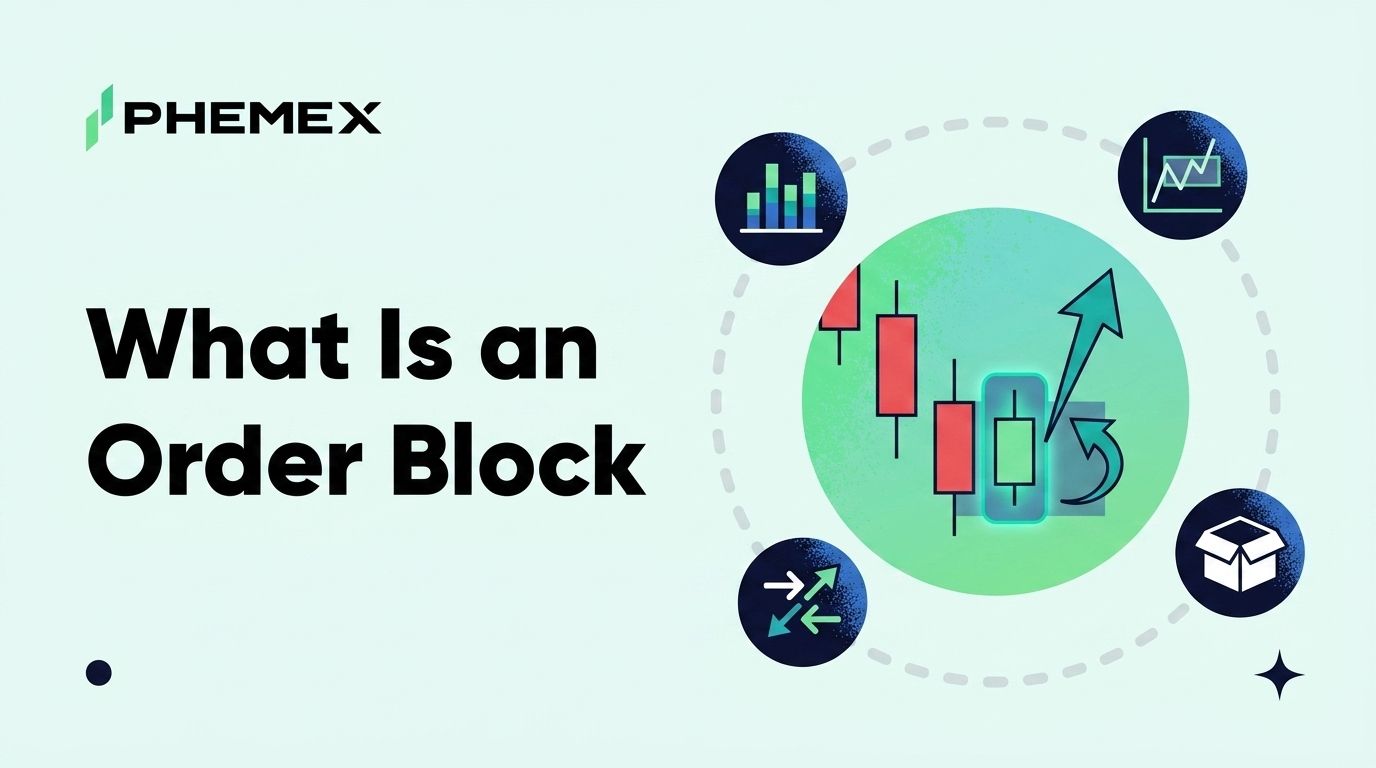
An order block is the institutional footprint smart-money traders hunt on a chart. In Inner Circle Trader (ICT) language, it is the last opposite-color candle before a strong displacement move that breaks market structure, often a single red body sitting beneath a 6% impulsive rally or a single green body capping the high before price collapses. Price tends to return to that candle before the next leg, which is why traders treat it as a high-conviction reaction zone.
The block is one of the cleanest concepts inside Smart Money Concepts (SMC), and it pairs naturally with the fair value gap framework that fills the imbalance left on the displacement leg. Here is what an order block actually is, how to identify one without overfitting, the entry, stop, and target mechanics that work in practice, and the three mistakes that drain most retail accounts trying to trade them.
What an Order Block Actually Is in ICT Terms
An order block is the last candle that prints in the opposite direction of an impulsive move that breaks structure. Institutions cannot fill nine-figure orders at a single price the way a retail trader fills a $200 limit, so they accumulate or distribute across a zone, often disguising the activity inside a consolidation or a final shakeout candle. When that hidden block of orders is exhausted, price detaches and runs.
A bullish order block is the last red candle before a strong impulsive up move that breaks the previous swing high. A bearish order block is the last green candle before a strong impulsive down move that breaks the previous swing low. The displacement leg is the evidence that the block exists, so no displacement means no block, and a 0.3% wiggle does not qualify. The fastest way to overfit this concept is to label every consolidation candle as an order block in hindsight.
Three components define a valid block. The mitigation candle is the block itself, the opposite-color body holding resting institutional orders. The displacement is the impulsive move that consumes those orders and breaks structure, usually a candle two to three times the size of recent average range with little upper or lower wick. The return-to-block is the move where price retraces into the original candle's body or wick to retest. For more depth, the Smart Money Technique guide covers how blocks sit inside the larger SMT toolkit, and the order-book primer at Corporate Finance Institute explains the resting liquidity that defines a block.
How to Identify an Order Block on a Crypto Chart
Three checks decide if a candle qualifies. The list is short on purpose, because the most common failure mode is adding rules until every candle passes.
Find the break of structure first. Mark the most recent swing high and swing low on your timeframe. A bullish setup requires price to take out a prior swing high with a clean impulsive candle close above it, and a bearish setup requires a clean impulsive close below a prior swing low. Wicks above the level without a body close do not count, and that is where most chart-spotting goes wrong.
Walk back to the last opposite-color candle. Once the displacement is confirmed, scroll left from the breakout candle until you hit the last candle in the opposite color. That candle is your order block, red for bullish setups and green for bearish ones. Mark the high and low of the body, and also mark the 50% level (the equilibrium), because that midpoint is the most common reaction zone on the retest.
Confirm displacement quality. The breakout move out of the order block should be visibly larger than the surrounding candles and ideally leave a fair value gap behind. If the move out is weak, lazy, or fully overlapping with the previous range, the "block" you found is probably a swing point rather than an institutional footprint. Volume helps but is not required, and on low-cap crypto pairs candle structure does most of the work.
A 4-hour or daily order block on BTC or ETH carries far more weight than a 5-minute one on a random altcoin, because higher timeframes filter the noise that produces false displacements. Identify the block on the 4H using a tool like TradingView's BTC chart, then refine the entry on the 15-minute when price returns.
Order Block Entry, Stop, and Target Mechanics
The setup is mechanical, and the discipline is in waiting for it.
Entry happens when price returns to the order block zone and reacts. Aggressive traders place a limit order at the proximal edge of the block (the edge closest to current price) and accept that the order may not fill if price reverses early, while conservative traders wait for price to tap the zone, print a rejection wick or a lower-timeframe shift in structure, and then enter on confirmation. The aggressive version offers a tighter stop and better reward-to-risk, the conservative version offers a higher hit rate, and the choice depends on your win-rate tolerance.
For a bullish order block, the stop sits a few ticks below the low of the candle including the wick, and for a bearish block, it sits a few ticks above the candle high. The block is invalid the moment price closes through it on a higher timeframe, but internal wicks that hold above the candle low are not invalidation. That is why ICT traders mark the full candle range, and it pairs with the broader market depth logic that resting orders sit across a zone rather than a single price.
Targets are the next pool of liquidity. For a long off a bullish block, that means equal highs, a prior structural high, or a session high where stop orders are stacked, and for a short the target is the mirror image. The first target is usually the prior swing that created the displacement leg, and the second extends to the next obvious liquidity grab.
|
Trade component
|
Bullish order block
|
Bearish order block
|
|
Block candle
|
Last red candle before impulsive up move
|
Last green candle before impulsive down move
|
|
Entry zone
|
Proximal edge or 50% of candle body
|
Proximal edge or 50% of candle body
|
|
Stop loss
|
A few ticks below candle low (including wick)
|
A few ticks above candle high (including wick)
|
|
First target
|
Prior swing high that was broken
|
Prior swing low that was broken
|
|
Second target
|
Next equal highs or session high liquidity
|
Next equal lows or session low liquidity
|
Reward-to-risk should clear 2-to-1 on the first target before you take the trade, and if the math does not work, the setup does not work no matter how clean the block looks.
How Order Blocks Combine With Fair Value Gaps for Confluence
Order blocks stacked with a fair value gap on the displacement leg become the single highest-probability setup in the SMC toolkit. The order block tells you where institutional orders sat, the FVG tells you where price moved too fast for the market to fill all the orders at fair value, and when price returns it tends to rebalance the FVG first and then react off the order block underneath.
The cleanest version looks like this. Price prints a bullish order block on the 4H, then a strong impulsive bullish move breaks structure and leaves a three-candle FVG immediately above. Price runs higher, fails to hold, and retraces, filling the FVG on the way down before tapping the high of the order block and bouncing. That confluence is what smart-money traders refer to as a "premium-to-discount return," and it is the textbook A+ setup.
The Smart Money primer covers why these zones exist and why retail trading against them produces the predictable wick patterns that make order blocks identifiable. Public TradingView SMC scripts show how the framework is encoded into community indicators that auto-mark blocks and FVGs on any chart.
Common Mistakes and When Order Blocks Fail
Three mistakes account for most of the losing trades retail takes on this concept. Avoid them and the win rate jumps without changing anything else about the setup.
Chasing blocks in trending markets that do not retest. In a strong impulsive trend, price often runs without returning to the original block, and traders who set limit orders at every breakout block watch the trade go without them before chasing at worse prices. The honest rule is that if price has already extended more than 2-3 ATRs from the block without a retest, the trade is gone and the right move is to wait for the next structure shift.
Mistaking a consolidation candle for an order block. A real block sits directly before a displacement candle, with minimal wicks bridging the two. If there is a five-candle consolidation between the "block" you found and the breakout, what you are looking at is range support or resistance. The framework collapses the moment you label random candles as blocks because the move went the right direction afterward.
Ignoring displacement quality. The whole concept rests on the displacement being a real institutional move, and a lazy, overlapping, choppy move out of a candle does not validate it as an order block. The cleaner and faster the displacement, the higher the probability the block holds on retest. Combine this filter with the long-wick candle reversalframework to spot the rejection candles that often confirm a displacement is real rather than a sweep.
Crypto adds a final wrinkle. Markets run 24/7, so liquidity thins out during Asia hours and the blocks formed in those sessions are less reliable than ones formed during London or New York, with weekend prints the lowest quality. Treat 4H blocks formed during peak US hours as your highest-conviction setups and downgrade everything else.
Frequently Asked Questions
Do order blocks work on crypto the same way they work on forex?
Yes, with one adjustment. Crypto markets run 24/7 and carry heavier retail participation, so the wick-driven sweeps that fill institutional orders are more frequent and more aggressive. The structure is identical, but the noise is louder.
What timeframe is best for trading order blocks?
Higher timeframes produce cleaner blocks, and the 4-hour and daily are the highest-conviction setups on BTC and ETH. The 15-minute works for refining entries inside a higher-timeframe block, but trading 5-minute blocks in isolation has a low hit rate because the displacement criteria are too easy to satisfy on noise.
How is an order block different from regular support or resistance?
Support and resistance are price levels defined by repeated reactions, while an order block is a specific candle defined by the displacement that follows it. A level can have multiple touches over weeks, but a block is a one-time footprint that either holds on its first retest or breaks. Once it is broken with a body close, it is invalid.
Can I trade order blocks without fair value gaps?
You can, and the setup is still tradeable on its own. The confluence of an FVG above or below a block significantly raises the probability of the block holding, because it gives price two reasons to react in the same zone.
Bottom Line
An order block is a candle marking the last opposite-color print before institutional orders consumed the other side of the book and forced a displacement. The setup works because the orders that drove the original move often have residual size that gets filled on the retest, and because traders who missed the first move pile in on the return.
The rules are short. Confirm the break of structure with a body close rather than a wick, mark the last opposite-color candle before that break, and wait for price to return and react at the proximal edge or 50% of the body. Stop a few ticks beyond the candle's full range, target prior structural liquidity, and take the trade only if reward-to-risk clears 2-to-1.
Traders who lose money on this concept label every candle a block, ignore displacement quality, and chase moves that never come back. Traders who make money pass on 80% of the charts they look at and wait for the cleanest 20% that meet every condition. Patience is the edge, and the pattern delivers the payout.
This article is for educational purposes only and does not constitute financial or investment advice. Cryptocurrency trading involves substantial risk. Always conduct your own research before making trading decisions.
